Search

Showing posts with label pants. Show all posts

Sunday, November 25, 2018

Hollywood trousers with slant pockets -Liesl+co pattern


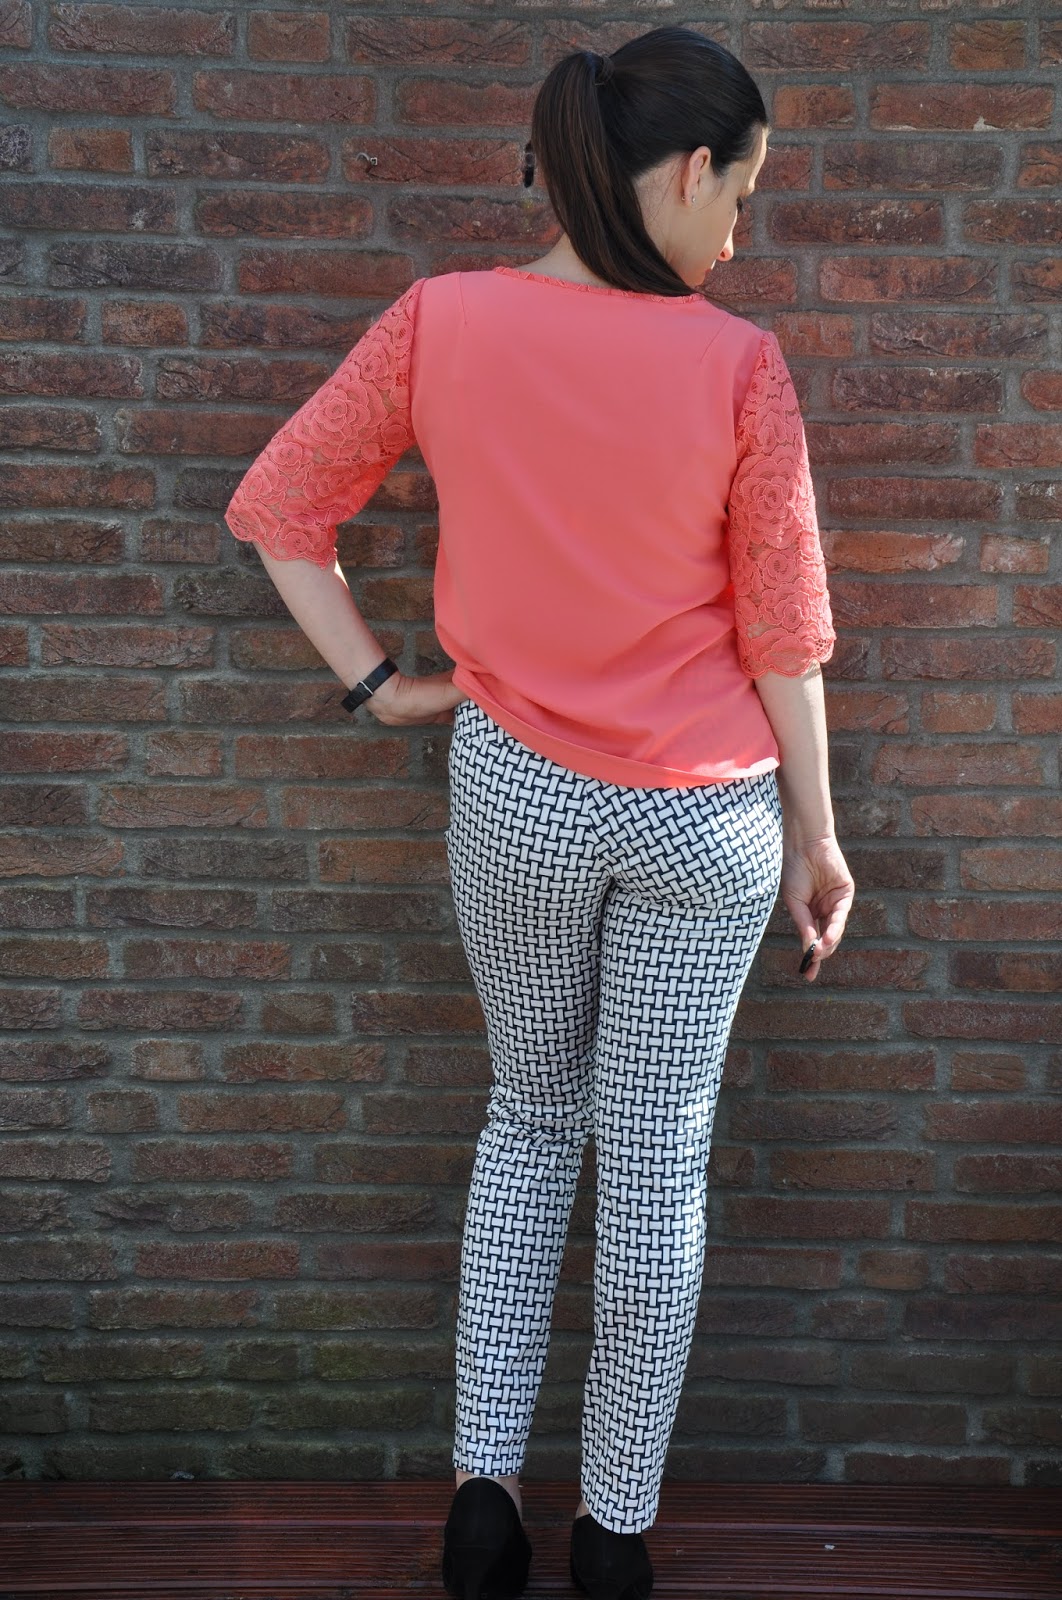
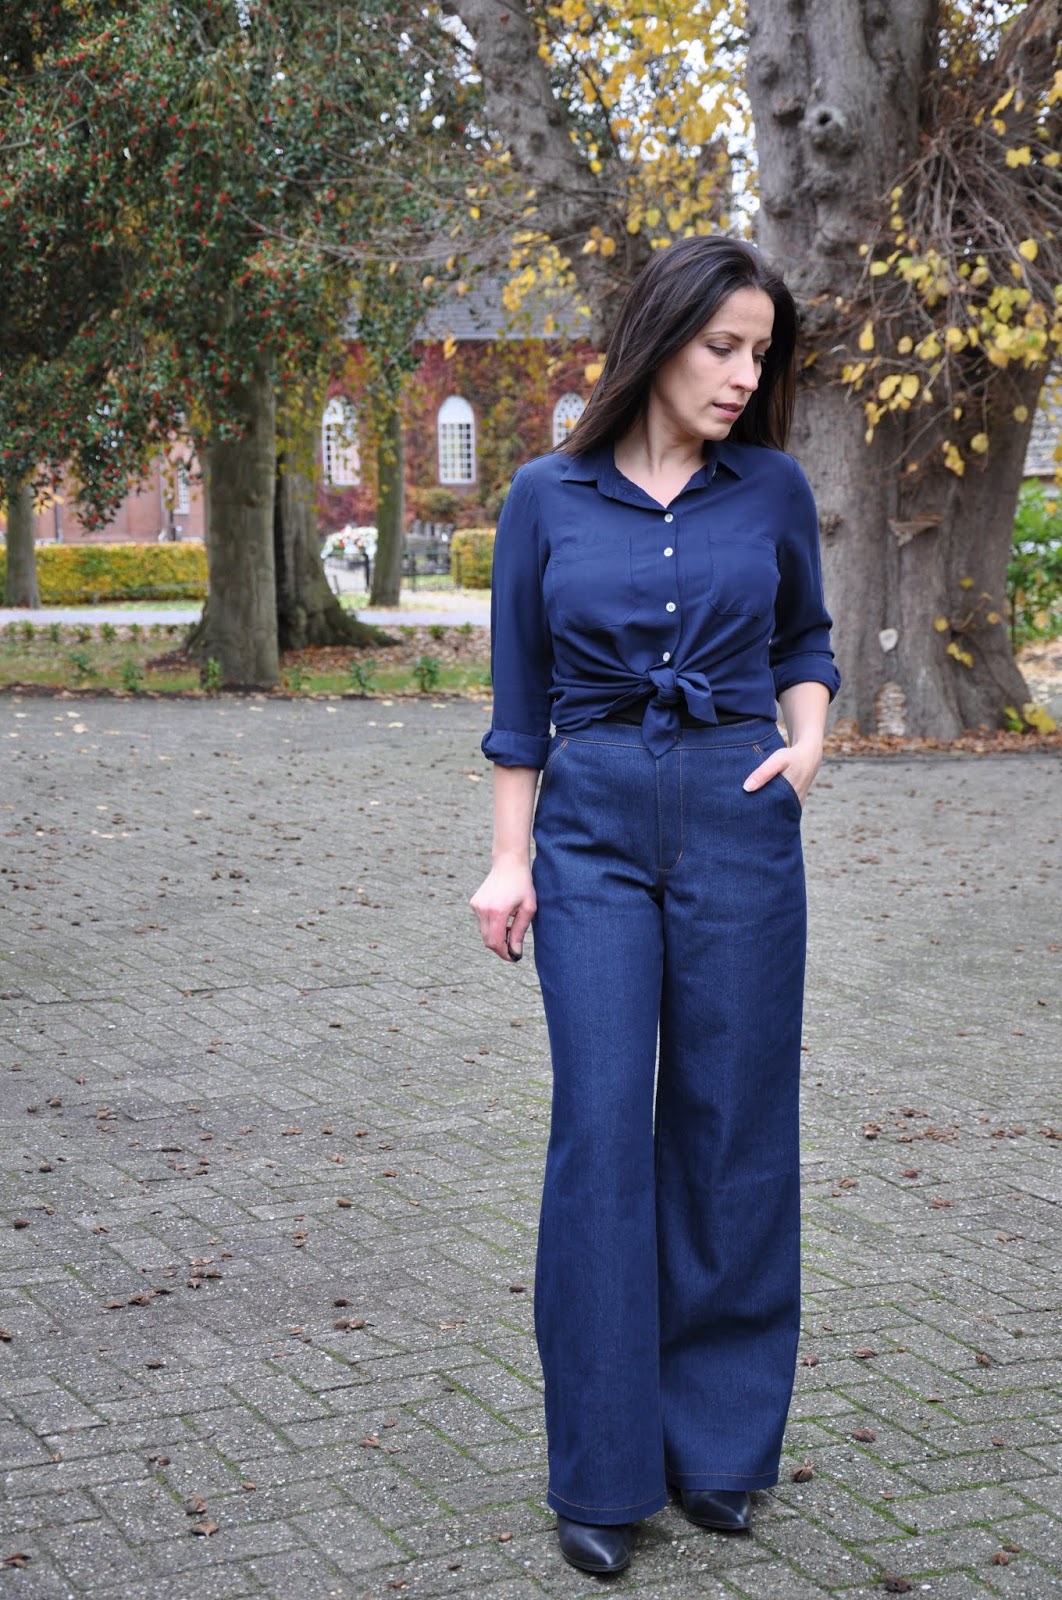
As a member of Liesl`s Advisors Circle, I get to try the new patterns and make something different with them. My idea for the Hollywood trousers pattern was to add the slant pockets and make them in denim for a more casual look.

First I made a muslin to see how the pattern was fitting me. I started with size 6 for the waist and 8 for the hips but I ended up with an all over 8. Based on the test garment I took 1cm from the inner front seam and 1cm off from the front crotch. I made my test garment in a much softer fabric than this denim, so that was not very smart but I am pretty happy with the fit of these, I think in real life are much less wrinkly than in these pictures.


Also, I took 4cm from the length too. The pattern is pretty easy to make, on the Oliver+S is also a sew along, with pictures and detailed instructions, but the pattern instructions are also very clear.


I love slant pockets! I am not a big fan of side seams pockets so I wanted to add the slant pockets on my Hollywood trousers. I have all Suzy`s Furrer classes on Craftsy and I  remembered I learned the slant pockets in one of her pants drafting classes  . Her classes are really amazing! 


I made a full tutorial on how I drafted the pockets ( I mean, "drafting" is a big word, the process is very simple) and how I sewed those, you can find it at the Oliver+S blog 

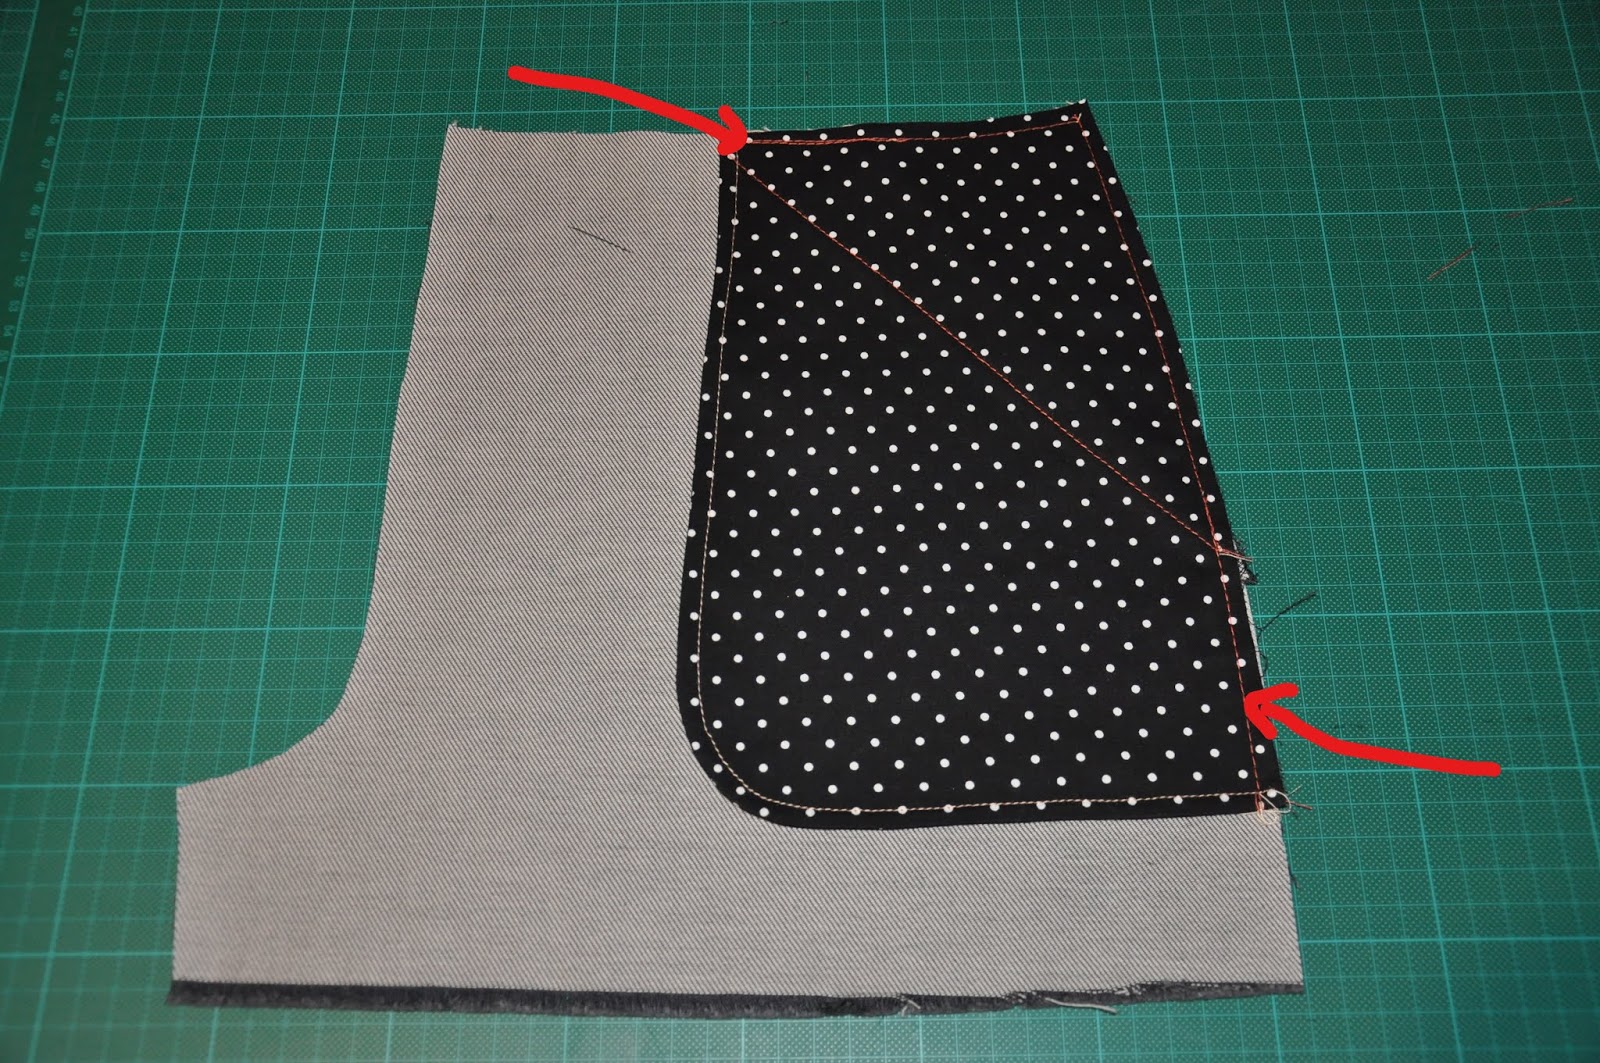
picture from the tutorial
For the pockets lining I used a fun cotton and chosen to let the right side of the fabric showing on the inside of the pants. Also, did a french seam finish around the pockets.


I like this pattern and I would love to make it also in a soft wool or a corduroy.

Thursday, November 15, 2018

Harper pants-Designer Stitch pattern


As much as I like dresses and skirts, pants are always easy, and comfortable pants are even better. Making my own gives me the chance to make them comfortable, even if I am making jeans. 
In this case, I made no jeans but Super Comfortable ponte knit  pants. The Harper pants from Designer Stitch.


The Harper Pants pattern offers a number of styling options.
– Standard Leg with optional front pin tuck.
– Faux side front pockets.
– Jeans style functional pockets.

All of the above styles are completed with
– an elastic waistband
– faux stitch fly.
– faux back welt pockets
– a choice of straight leg or slim leg widths and optional belt loops.


I made size 2 . I lowered the front rise by 2cm and the back rise by 3.5cm. Here, on the Designer Stitch blog is a post about the right way to adjust the rise of your pants. The stretch of your fabric is the key in this pattern. 
From de pattern description :

Heavyweight Ponte De Roma fabrics are BEST for the Harper Pants with at least 40%
4-way stretch.  Approx fibre content of: 70% rayon, 25% nylon, 5% Elastane
or 70% Polyester, 25% Rayon, 5% Elastane
(Heavy Weight Fabric minimum 340 gsm (10 – 12 ozs)


I made my muslin in a much softer fabric with lesser vertical stretch not thinking further that my final fabric will have much more vertical stretch... I could have shortened the pattern a bit more to get the waist a bit lower but I had only 1.5m from this black ponte so I could not make my test garment out of the same fabric. I think is very important to use for your test garment, fabric with the same stretch percentage as your final fabric.


I made the slim leg and the faux slant pockets. In the back are two faux welt pockets. The instructions on these are perfect, it went very easy( on the Designer Stitch blog there is also a tutorial with pictures for this). Also, I shortened the pants by 5cm.


I would not wear my blouse tucked in:)) but this was better than pulling my blouse up to show the details  :)). The top in this pictures is another Designer Stitch pattern, one of my all-time favorites, the Bridget blouse


I love how these pants are looking like tailored pants but having the comfort of yoga pants. The pattern is for a limited time on sale.
Link to the shop here ( aff.link) 


**This post contains affiliate links
Disclaimer: In the name of full transparency, please be aware that this blog post contains affiliate links and any purchases made through such links will result in a small commission for me (at no extra cost for you).

Wednesday, June 14, 2017

Bridget blouse and Alyse pants -Designer Stitch Patterns


This month Designer Stitch is celebrating its 1-year anniversary. I wanted to sew a DS pattern for this occasion and I ended up sewing 2. So happy anniversary Designer Stitch ( and congrats to Ann Grose the mastermind behind the patterns).


 The pants are the Alyse slim leg pants , made for woven stretch fabrics with 4% spandex...The pants are based on a stretch ratio of 20% 
I made my first muslin in size 3, in a stretch cotton sateen and it was a bit too big overall so smart me, I took size 2 as I was think that it will be much better overall, and made a new muslin...in a fabric with almost no stretch....I know... Stupid me. Ofcourse it didn't fit so I cut in the same fabric as the first one and the fit was almost perfect. 


This is sewn with 1cm SA instead of 1.5cm, also I took a bit of fabric from the back leg out and I think the fit is really nice. I omitted the pockets. I made my final pants also in a stretch cotton sateen. Love the snug fit and the slim legs...that are not too tight.


The blouse is the Bridget pattern , and I used the sleeves from the "short sleeve " pack, the mid-elbow sleeve. 
I made this pattern also here in a red crepe, and here in a polyester fabric, so I had no fitting work .I used the same pattern as for the red Bridget, size 2C for the bust and blending at 4 for the waist and 6 for the hips. No waist darts and no zipper. This pattern has cup sizing so that makes it easy to fit.

This coral crepe was so nice to sew. So spongy and soft. Also to wear is a pleasure, it even has a bit of stretch .

The lace sleeves were pretty easy to sew. For the sleeve seam, I used first a straight stitch and then at a 0.5 cm or something like that away from the straight stitching line, I did a small zigzag and trimmed the rest of my SA next to the zigzag. I saw this finishing method in the "Sewing lingerie" class from Alison Smith, on Craftsy . My corded lace wouldn't feed nicely under the locker. 


I finished the neckline with a stroke of lace , sewn first by machine turned and hand sewn in place. The stroke is also finished with a small zigzag.

I also finished the armholes with a bias band, self-made and finished by hand. The side and shoulder seams are sewn with french seams. I love the neat look inside.   For the sleeves hem, I used the edge of my fabric.

And the inside :)


And this is it. Two nice pieces in my wardrobe, and two pieces of fabric out of my stash.
On the Designer Stitch Patterns Support  Facebook group are this week all kind of special offers and giveaways, I think it worth taking a look.
Happy Anniversary, Designer Stitch and Ann keep up the good work.

Thank you for reading! 


*This post contains affiliate links


Monday, March 27, 2017

Pink Tierras Joggers with zippered ankles ( with a photo tutorial)


The Tierras Joggers from Itch to Stitch patterns, ahh, I could make a hundred of them! Well, I am a little exaggerating but I did make 4 this month so that shows how much I like this pattern. I used to have another pattern for this kind of pants, the Casual trousers from one of the Sewing bee books. But actually, I was not completely happy with that pattern as the rise was really high on me and there was a little too much fabric around my hips. I was planning to get it right for my body one day, but now I have this pattern and I am so very happy with it.

All my thoughts about the pattern I wrote in this post a few weeks ago.


During testing, I saw on the internet, some joggers with zippers at the ankles and I really wanted to try to make some.
Adding the zipper was easy but I wanted also to add elastic and that I had to figure out. In the end that was pretty easy. On Itch to Stitch`s blog, you can find a photo tutorial on how to add zippers to the Tierra's joggers.


This is not my "to go" color, but I think it will be great for spring and summer and the weight and drape were perfect for the metal zippers. I hope I can make a few more of this pants, as the summers are not really hot here and these are so easy to wear.


I love the gold zippers on this pink! Such an easy way to add a little extra.