Search

Thursday, January 31, 2019

Sedona 3 times :shirt, tunic and dress , pattern by Designer Stitch


I am a bit late to the Sedona party but here I am with my review on the latest pattern from Designer Sitch, the Sedona shirt/tunic/dress sewing pattern.


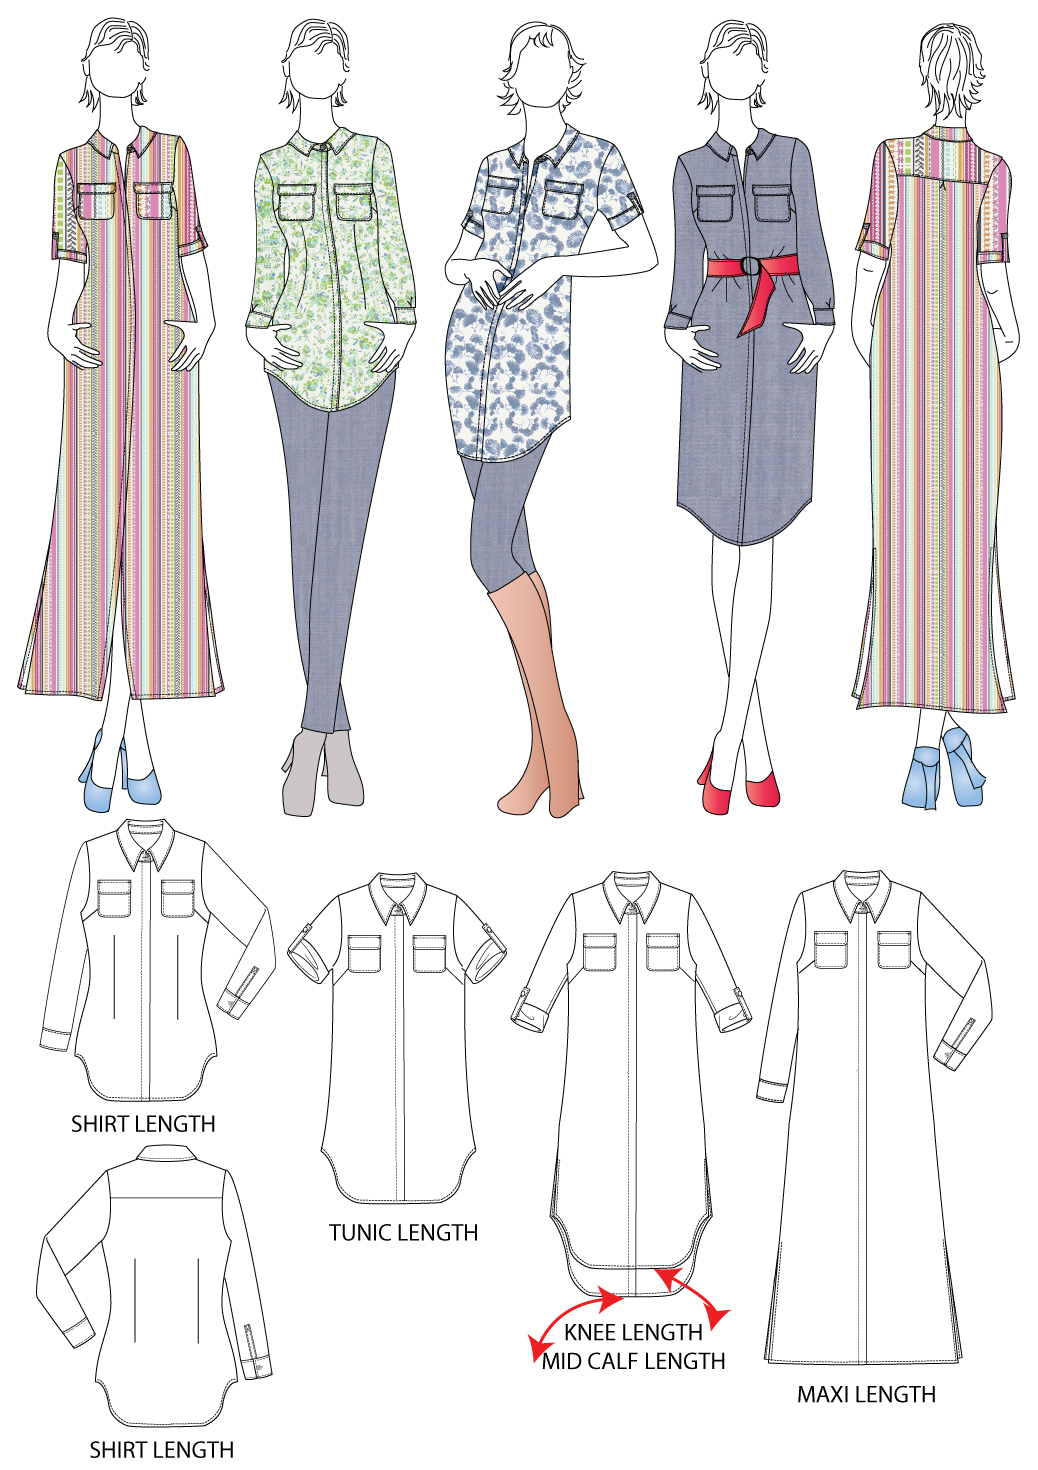
As usual with the Designer Stitch patterns, the Sedona pattern is full of options. It has all the classic shirt details, like a back yoke, collar with a stand, sleeves with the classic placket and cuff, 3/4 sleeve and short sleeve. Also, there are 5 options for the length and with the exception of the maxi length, the other lengths have a shaped hem. For a more fitted look there are fisheye darts on the pattern and in the back you have the option for a pleat, not to be used in combination with the waist darts. Also, there are optional front patch pockets and inseam pockets for the dress options.  And one of the main features of this design is the concealed button placket.


But, one of the most important features is that the Sedona comes with cups sizing, that makes it so easy to fit!  The sizes are (US) 2-22 (EU) 34-54 (UK )6-26

I made my dress in size 3 cup C and I made my standard adjustments: narrow shoulders adjustment, lifted the dart point by 1cm  and I wanted the armhole a bit higher at the underarm so I adjusted the sleeve head accordingly to make it fit in my new armhole. 


As you can see in these pictures I made 3 versions of this pattern, actually 4, a maxi version in challis from Minerva Crafts, but that one it will be blogged on the Minerva blog, and that is definitely a favorite! I will post a link when it will get live.


The first version of the Sedona was this knee-length dree made in beautiful cotton, black with white polka dots weaved in the fabric.

 The weight of the fabric and drape were perfect for this dress! I omitted the back pleat and the waist darts. I love the fit over the bust and shoulders, I think is perfect! 

If you are intimidated by the concealed button placket, in the instructions you will find a small template that you can use to practice the folds, very handy. Also on the Designer Stitch blog is a blog post on how to change the concealed closure to a standard button stand.


The next versions I made, and I sewn these two at the same time, was a tunic length in the blue/white poly/cotton blend and a shirt version in a stretch crepe. 
Because the crepe has a softer drape I did add the back pleat here! Also in these two versions, I omitted the waist darts, I like the loose fit, not too boxy. 


To finish the bottom edge, instead of turning the hem and stitch I use bias tape and bound the hem, I think is a nice detail. 


I love the sleeves with the placket and cuff, as you can see I used these in all my versions! I can sew one in no time now, after all these :)).


For the dress, I also made a belt from the fashion fabric. I am very satisfied with this pattern and I think with a few small changes I can get a lot of different looks. 


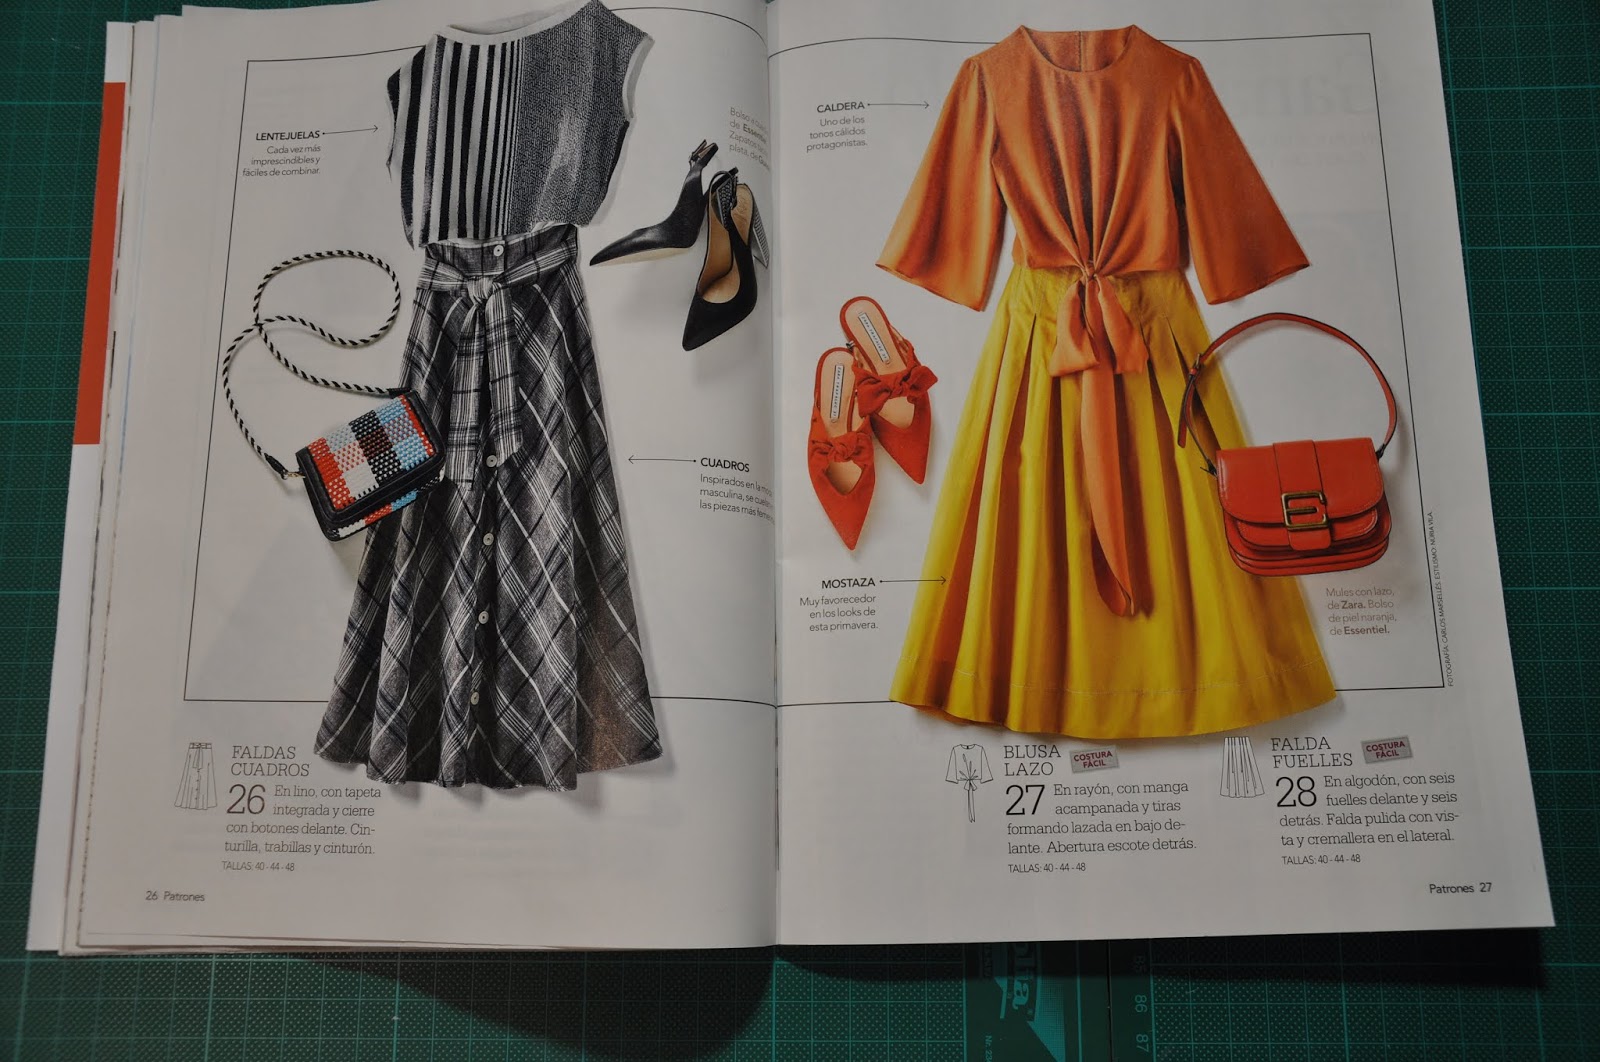
Here are a few inspiration pictures from my Pinterest board, that I really want to try! 
source:pinterest

source :Pinteres

source:Pinterest

...and a few details :)


And the action video is here on YouTube 
The Sedona shirt/tunic/dress pattern is available at the Designer Stitch shop here ( aff link) 

Happy Sewing!

**This post contains affiliate links
Disclaimer: Please be aware that this blog post contains affiliate links and any purchases made through such links will result in a small commission for me (at no extra cost for you).


Patrones Magazine 393


As usual, my Patrones issue for January didn`t arrive and this one for February came very late, but for my own reference, I am still going to put it here. This is an early spring edition, Patrones 393.I have no idea why Patrones won`t put a page with the technical drawings in their Spanish Magazine as I know that when Patrones is published in all the other languages there is always one!
So here is the summary of this issue. 


Happy sewing!

Friday, January 11, 2019

KnipMode Magazine Dress #12 12/2018

I love to see patterns with special style lines, so those are always getting high on my "to sew"wishlist. That was also the case with this KnipMode Magazine dress from December issue 2018.
Lovely princess seams, front and back yokes and there is even an option for a small flounce  for the sleeves and a cuff.


I think this is a really cool pattern. They have it in the magazine in a few variations, like a top, as a dress with a bit fitted skirt, the one I used, or with a bit more flared skirt. The difference is in the side panel of the skirt, there are two extensions to make the side panel wider at the hem. Here you can see the tech drawing.

Picture from www.knipmode.nl
Picture from www.knipmode.nl 

A perfect pattern for color blocking, also in the magazine versions they used a sort of trim that it gets sewn in the seam. I think their dresses are much more fun than my grey one :)) but I know this is something I will get a lot of wear from.


I made a muslin for size 36 /38. It was way too fitted so I decided to make size 38 an keep 36 only for the shoulder length. For next time I need to remember that I should measure myself before I start on a new pattern. I did not do that for a while and it looks like I gained some cms around my waist and hips. Based on the test garment I also shortened the back length ( or swayback adjustment) and also took a bit off ( a total of 2cm) at the CB neck. I did not use a zipper as the fabric is stretchy enough. If I would use a zipper in a fabric like this   I would definitely interface the zipper area (actually I will do it in any fabric). 

For my test garment, I did not follow the instructions so I made a bit off a mess of the side point, where all the panels are coming together but it is actually so easy, following the instructions made it very easy, so well done KnipMode on that. This is the idea of it...as highlighted in this picture 


I also topstitched all my seams. I sewed the whole thing on the serger, topstitched with the sewing machine and made the hems on my cover stitch, which behaved very well on this fabric:). The fabric is a very thick knit fabric it does stretch a lot but I think a bit more stretch it would have been even better. For the next time, I need to give just a bit more extra room at the bust as you can see it is a bit tight and gaping there at the armhole, although is still feeling comfortable. ( I think here are again the few extra cms I gained and did not account for :)))


Adding clear elastic in the back shoulders.
To give a little support on my shoulders seam I added some clear elastic. I have the 6mm which is fitting perfectly in that hole of the standard presser foot from the serger. Without stretching I just let it feed as the serger is sewing the fabric. An alternative could be seam tape or woven selvage. 

Dress back
I kept the center back seam as I think it brakes a bit the back panel and it does have shaping in it.


Also, I used another method then instructed to finish the neckline. The instructions are telling you tu turn the SA to the inside and topstitch but I don`t really like that method so I cut a strip of my fabric a bit shorter than the neckline to ease that a bit into my strip and be sure it will lay flat. Sewed right sides together, trimmed the SA and turned to the inside and topstitched, I think it looks great!


The pattern is also as a PDF in their webshop and you actually get both dress options( and the top of course). Here is a link  ( no affiliate). Do remember that there is no seam allowance included!

....and that was all! Till next time, happy sewing!